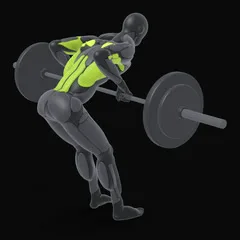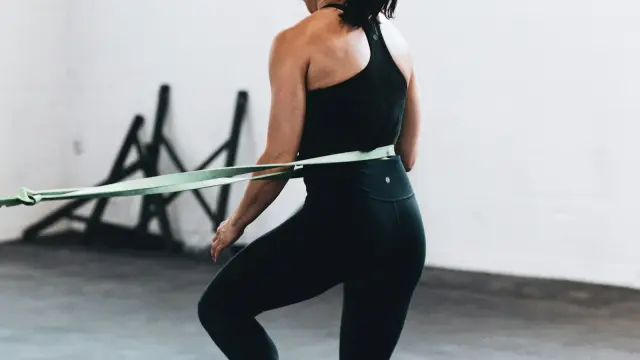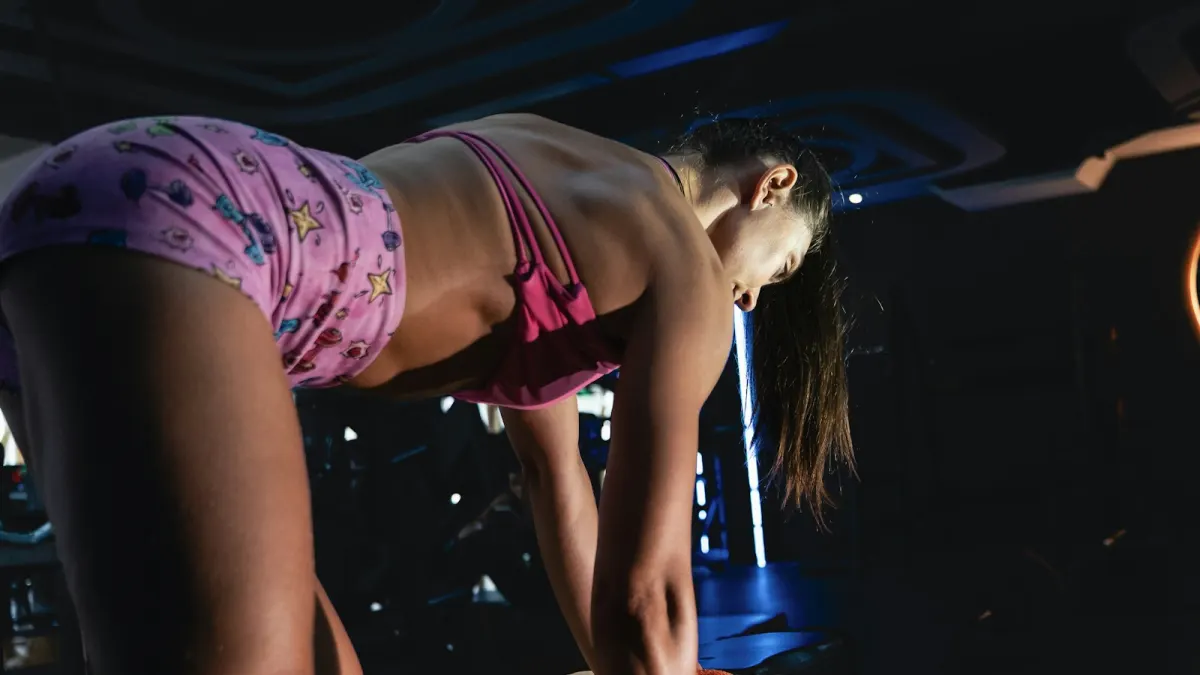
To do a barbell row with good form, hinge forward until your torso is about 30–45° above horizontal, keep your back neutral and your knees slightly bent, then pull the bar from straight arms to your lower chest or upper stomach, leading with your elbows, and lower it under control. Your torso should stay still; if you’re swinging up and down to move the bar, it’s too heavy. Below is the setup step by step, how elbow path changes which muscles work, the most common mistakes, and when dumbbell, cable or chest-supported rows are the better choice.
Step-by-step barbell row
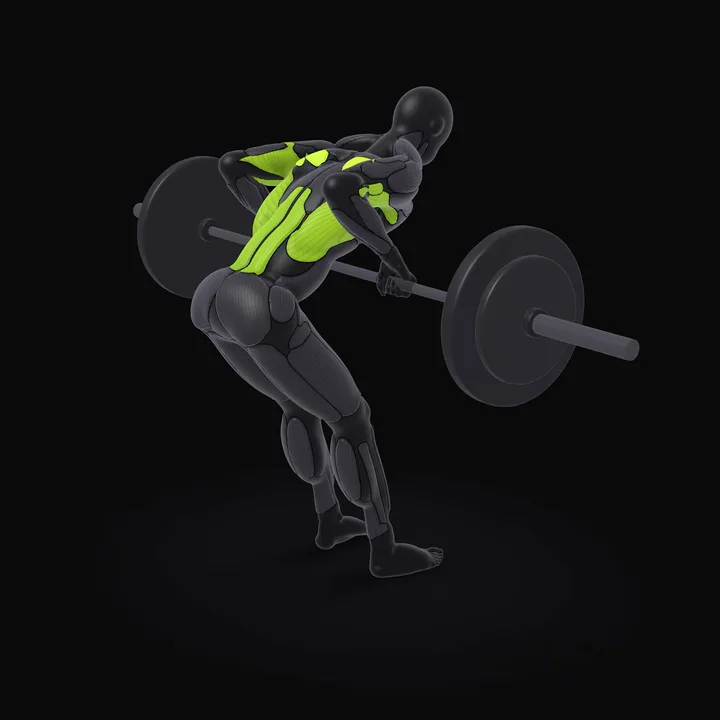 Barbell Bent-over RowGrip the bar slightly wider than your shoulders and bend your knees slightly. Hinge at the hips until your torso is nearly parallel to the floor, with a flat back.How to do the Barbell Bent-over Row →
1. Pick up the bar
Deadlift the bar from the floor or take it from a rack at about knee height. Grip it with your hands just outside your thighs, a bit wider than shoulder-width, palms facing you (overhand).
2. Hinge into position
Unlock your knees and push your hips back as in a Romanian deadlift, until your torso is about 30–45° above horizontal. The bar hangs at about knee height with straight arms. Keep your neck in line with your back.
3. Brace
Breathe into your belly and brace your midsection. Your lower back’s job is to hold this position steady for the whole set.
4. Pull
Drive your elbows back and up, pulling the bar toward your lower chest or upper stomach. Squeeze your shoulder blades together at the top and pause for a moment.
5. Lower
Lower the bar under control to straight arms, letting your shoulder blades spread slightly at the bottom. Keep your torso angle the same, then pull again.
Cues for each phase
- Setup: “Chest proud, hips back.” Hold the same position you’d hold at the bottom of a Romanian deadlift.
- Start of the pull: “Pull the shoulder blades back first.” The first few centimetres come from your upper back, not your arms.
- Mid-pull: “Elbows to the ceiling behind you.” It keeps the bar close and the work in your back.
- Top: “Touch and squeeze.” The bar touches your body and you hold it for a beat.
- Lowering: “Reach long.” Let the bar pull your shoulders forward slightly at the bottom without your back changing shape.
Warm-up
Your lower back and hamstrings hold the position, so warm them up too: 10 bodyweight hip hinges or good mornings with an empty bar, 15 band pull-aparts, then 2–3 ramp-up sets of rows (for example the bar for 10, then 60 % and 80 % of your working weight for 5 each).
Elbow path: which muscles you train
| Elbow position | Where the bar goes | Emphasis |
|---|---|---|
| Tucked close to the body | Upper stomach | Lats |
| About 45° out | Lower chest | Lats and upper back together |
| Flared to 70–90° | Mid chest | Upper back, rear delts, middle traps |
There’s no single right answer. Most people use the middle option for barbell rows and train the other two angles with dumbbell or cable rows. The back workout for width and thickness explains how to combine rows and pulldowns over the week.
Barbell row vs Pendlay row
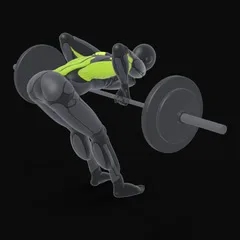
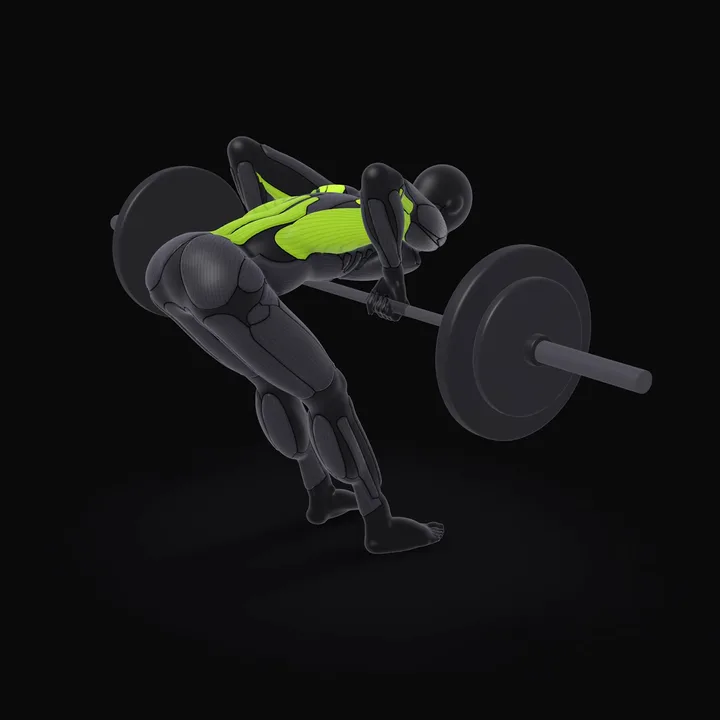 Barbell Pendlay RowStand over the bar on the floor and hinge until your torso is parallel to the floor. Grip the bar slightly wider than your shoulders with a flat back and braced core.How to do the Barbell Pendlay Row →
The Pendlay row starts each rep from the floor with your torso close to horizontal. You pull explosively to your lower chest, then set the bar back down. It’s stricter (no swinging), builds pulling power and is easier on the lower back between reps, since you reset on the floor. The regular bent-over row keeps the bar hanging, so your back works continuously and your muscles stay under tension for the whole set. Both are good; Pendlay rows suit you if you tend to cheat on regular rows.
Common barbell row mistakes and fixes
| Mistake | Fix |
|---|---|
| Standing too upright | Hinge further; the row becomes a shrug above about 60° |
| Torso swinging | Lighter weight; pause at the top of each rep |
| Rounded lower back | Brace harder, reduce the weight, or switch to a chest-supported row |
| Pulling with the arms | Think “elbows back”, hands are hooks |
| Shrugging the shoulders up | Keep shoulders down, away from your ears |
| Short range | Let your arms straighten and shoulder blades spread at the bottom |
Other rows and when to use them
Dumbbell row
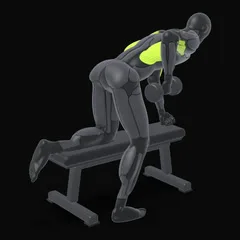
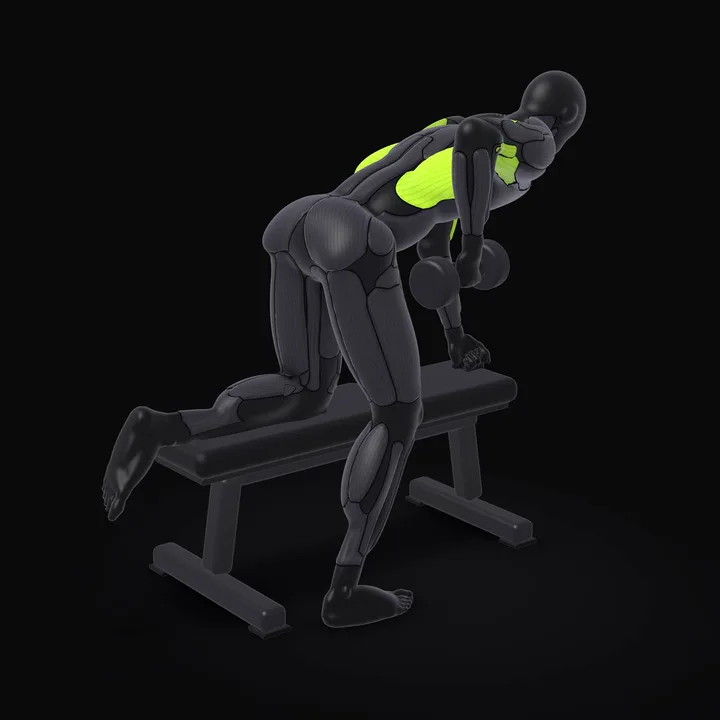 Dumbbell Single-arm RowPlace one knee and the same-side hand on a bench, back flat and parallel to the floor. Hold the dumbbell in your other hand, arm straight below your shoulder.How to do the Dumbbell Single-arm Row →
The one-arm dumbbell row braces one hand and knee on a bench, so your lower back has much less to do. It allows a longer range of motion, trains each side separately and lets you choose your elbow path freely. Pull the dumbbell toward your hip for more lats, or toward your lower chest with your elbow out for more upper back. Don’t twist your torso to move the weight.
Chest-supported row
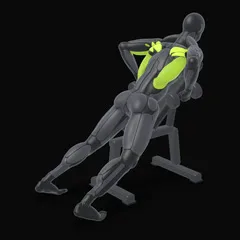
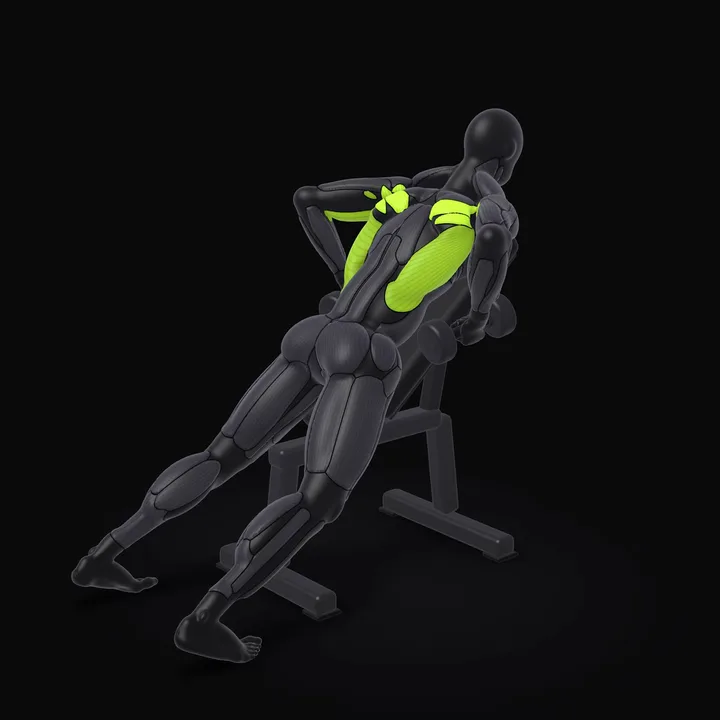 Dumbbell Chest-supported RowSet the bench to 30–45 degrees and lie face down with your chest on the pad. Hold a dumbbell in each hand with your arms hanging toward the floor.How to do the Dumbbell Chest-supported Row →
Lying face down on an incline bench removes the lower back from the equation entirely. The chest-supported dumbbell row, the seal row and the chest-supported T-bar row are among the best back builders for anyone whose lower back is tired from squats and deadlifts. They also make cheating almost impossible.
Cable row
The seated cable row gives constant tension and is easy to adjust: a close neutral handle for lats, a wide bar for upper back. Sit tall, pull to your stomach, pause, and let your shoulders reach forward at the end of each rep without rounding your lower back.
T-bar and machine rows
The T-bar row lets you load heavily with a comfortable neutral grip. Machine rows are stable and easy to take close to failure.
Choosing the right row for you
| Your situation | Best row |
|---|---|
| Want a heavy compound back lift | Barbell or Pendlay row |
| Lower back already tired from squats or deadlifts | Chest-supported row |
| Want to fix a left-right difference | One-arm dumbbell row |
| High-rep, constant-tension work | Cable or machine row |
| Training at home | Dumbbell row, or inverted row under a sturdy table |
Sets, reps and progression
| Goal | Row | Sets × reps | Rest |
|---|---|---|---|
| Learning the lift | Barbell row, light | 3 × 10 | 90 s |
| Back size | Barbell or chest-supported row | 3–4 × 8–12 | 2 min |
| Strength | Barbell or Pendlay row | 3–5 × 5–8 | 2–3 min |
| Extra volume | Dumbbell, cable or machine row | 2–3 × 10–15 | 60–90 s |
Progress with double progression: hit the top of your rep range on every set with the same strict form, then add 2.5 kg (5 lb). Use straps when your grip fails before your back. For a full upper back plan, combine rows with face pulls; see the rear delt workout.
How to pick your starting weight
Start with the empty bar for a set of 10 and check that your torso angle stays the same on every rep. Add 5–10 kg per set until a set of 8–10 is hard but you can still pause the bar against your body on the last rep. If you can’t pause it, it’s too heavy; that pause is the best honesty test for rows.
A worked example
A lifter rowing 50 kg for 3 × 8–10 might go 10, 9, 8 in week 1, 10, 10, 9 in week 2, and 10, 10, 10 in week 3, then move to 52.5 kg. If a jump costs the pause at the top, stay at the old weight for another week. Rows reward patience: a strict 70 kg row trains your back through its full range, while a 100 kg heave mostly trains your hips and ego.
How much body English is OK?
A little hip drive on the last rep or two of a heavy set is fine for experienced lifters who want to overload the lowering. But if your torso rises above about 60° on every rep, or the bar only reaches your stomach because you stand up into it, the row has turned into a partial deadlift. Strict reps with a slightly lighter bar build more back. Save the cheating for the last set, if at all.
If you can’t hold the bent-over position
Tight hamstrings or a tired lower back can make the hinged position hard to hold. Try these, in order:
- Bend your knees a little more. It reduces the stretch on your hamstrings without changing much else.
- Row from the rack. Set the safeties around knee height so you can rest the bar between sets without a full deadlift.
- Use a slightly more upright torso (up to about 45°) and accept a shorter range for now.
- Switch to a chest-supported row for a block of training while you work on your hinge.
Rows and the rest of your training
Rows balance all the pressing in a typical program. A good rule is at least as many sets of rows and pull-downs as bench and overhead presses per week. If your barbell row form is limited by how well you hinge, practising the Romanian deadlift form first makes the bent-over position much easier to hold.
Frequently asked questions
What torso angle should I use for barbell rows?
Somewhere between about 30 and 45 degrees above horizontal works for most people. A more horizontal torso trains the upper back through a longer range; a more upright torso lets you lift more but shortens the range and turns the row into a shrug.
Should I row to my chest or my stomach?
Usually to your lower chest or upper stomach. Pulling higher with elbows flared works the upper back and rear delts more; pulling lower with elbows tucked works the lats more.
Overhand or underhand grip for rows?
Both work. Overhand is the standard and hits the upper back well; underhand lets you tuck your elbows and use a bit more biceps and lats. Pick the one that feels best on your wrists and elbows.
Can rows replace pull-ups or pulldowns?
Not entirely. Rows pull horizontally and hit the upper back hard; pull-ups and pulldowns pull vertically and favour the lats. Most balanced programs include at least one of each every week.
Are barbell rows bad for your lower back?
Not with good technique and sensible loads, but they do demand a lot from your lower back to hold the bent-over position. If your back is tired or sore, chest-supported rows train the same upper back muscles without that demand.